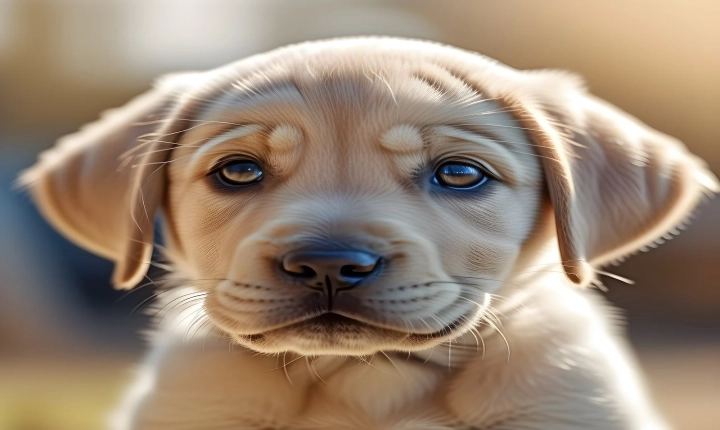
Title: A Step-by-Step Guide to Creating AI Portraits
Introduction
In recent years, the field of artificial intelligence has made tremendous advancements, including the ability to create stunningly realistic portraits using neural networks, machine learning, and deep learning algorithms. This technological breakthrough has opened up new avenues for creating digital art and has piqued the interest of artists, designers, and hobbyists alike. In this article, we will provide a step-by-step guide to creating AI portraits, allowing you to unleash your creativity and experiment with this exciting technology.
Step 1: Choosing the Right AI Portrait Tool
To create AI portraits, you will need to select a suitable AI portrait tool. There are several options available, each with its own unique features and capabilities. Some popular AI portrait tools include DeepArt, Deep Dream, and AI Painter, among others. Research and select a tool that best aligns with your artistic vision and technical requirements.
Step 2: Preparing Your Input
Before creating an AI portrait, it is essential to prepare the input image or initial reference. This could be a photograph, a drawing, or any other visual material that you want to transform into an AI portrait. Keep in mind that the quality and composition of the input image will significantly influence the final outcome, so choose your reference carefully.
Step 3: Uploading the Input Image
Once you have your input image ready, upload it to the AI portrait tool of your choice. Many tools have a user-friendly interface that allows you to easily upload images from your computer or mobile device. After uploading the image, you may have the option to select various parameters and customization settings, such as artistic style, color palettes, and level of abstraction.
Step 4: Applying AI Algorithms
At this stage, the AI portrait tool will use advanced algorithms, such as neural style transfer or generative adversarial networks (GANs), to analyze and transform your input image into an AI-generated portrait. These algorithms are capable of understanding and replicating artistic styles, textures, and visual patterns, resulting in a unique and stylized representation of the original image.
Step 5: Refining the Output
Once the AI algorithms have processed your input image, you will be presented with the AI-generated portrait. Depending on the tool you are using, you may have the option to further refine and customize the portrait by adjusting parameters such as brightness, contrast, and saturation. This step allows you to fine-tune the final output to better match your artistic vision.
Step 6: Saving and Sharing
After refining the AI portrait to your satisfaction, you can save the final result in a suitable file format, such as JPEG or PNG. Many AI portrait tools also offer the option to directly share your artwork on social media platforms, allowing you to showcase your creation and gather feedback from your audience.
Conclusion
Creating AI portraits is an exciting and innovative way to explore the intersection of art and technology. With the advancements in AI and deep learning, artists and enthusiasts have access to powerful tools that can generate captivating and unique portraits with just a few clicks. By following the step-by-step guide provided in this article, you can unlock the potential of AI portrait creation and embark on a creative journey that merges traditional artistry with cutting-edge technology.
