Adding text to AI-generated images can be a great way to personalize and enhance your visuals. Whether you’re creating social media posts, marketing materials, or just adding captions to your artwork, incorporating text can help convey your message and engage your audience. Here’s a step-by-step guide on how to add text to AI-generated images:
Step 1: Generate the Image
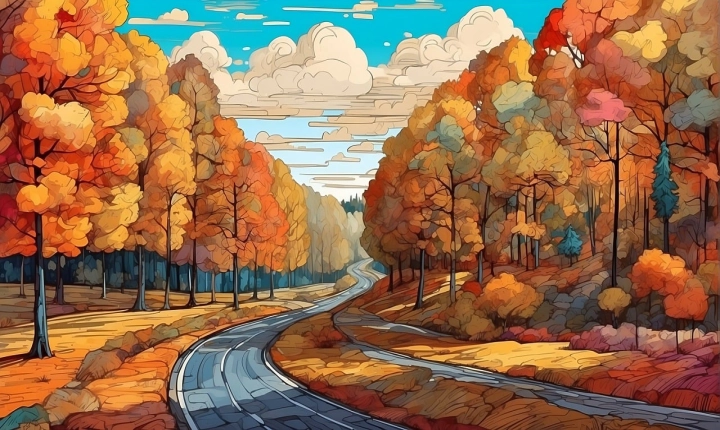
Before adding text, you’ll need to generate the image using an AI-based tool or platform. There are many AI art generators available, such as Deep Dream Generator, DALL·E, and Artbreeder, that can create stunning and unique images based on your input. Choose an image that you would like to enhance with text and download it to your computer.
Step 2: Choose a Text Editing Tool
There are various tools and software available for adding text to images. Popular options include Adobe Photoshop, GIMP, Canva, and online photo editors like Pixlr and Fotor. Choose a tool that you are comfortable using and that provides the features you need for adding and manipulating text on your AI-generated image.
Step 3: Open the Image in the Text Editing Tool
Once you have chosen your text editing tool, open the AI-generated image within the software. This can usually be done by selecting “File” and then “Open” in the menu bar. This will allow you to access the image and begin manipulating it.
Step 4: Add Your Text
After opening the image, locate the text tool in the software. This is typically represented by a “T” icon or a text symbol. Click on the text tool and then click on the image where you want to add the text. A text box will appear, allowing you to type in the desired text and adjust the font, size, color, and alignment to suit your preferences.
Step 5: Edit and Position the Text
Once the text is added, you can further edit and customize it to complement the image. Experiment with different fonts and colors to find a combination that enhances the overall visual appeal. You can also resize and reposition the text to ensure that it harmonizes with the AI-generated image.
Step 6: Save and Export
After you’re satisfied with the placement and appearance of the text on the AI-generated image, it’s time to save your work. Most text editing tools allow you to save the image in various formats such as JPEG, PNG, or GIF. Choose the appropriate format and save the file to your computer.
Step 7: Share or Use the Image
Now that you have successfully added text to your AI-generated image, you can share it on social media, use it in your creative projects, or incorporate it into your marketing materials. The personalized touch of the added text can help convey your message more effectively and make your visuals stand out.
In conclusion, adding text to AI-generated images can elevate the impact of your visuals and help you communicate your intended message. By following these steps and using text editing tools, you can seamlessly integrate text into your AI-generated images, creating compelling and personalized visual content. Whether you’re a designer, marketer, or creative enthusiast, mastering the art of adding text to AI-generated images can significantly enhance your visual storytelling capabilities.