Title: How to Animate AI Art: A Step-by-Step Guide
Animating AI art has become increasingly popular as more artists and creators explore the potential of artificial intelligence in their work. AI-generated art can be transformed into captivating animations, adding a new dimension to the creativity and innovation in the digital art world. In this article, we will explore the step-by-step process of animating AI art.
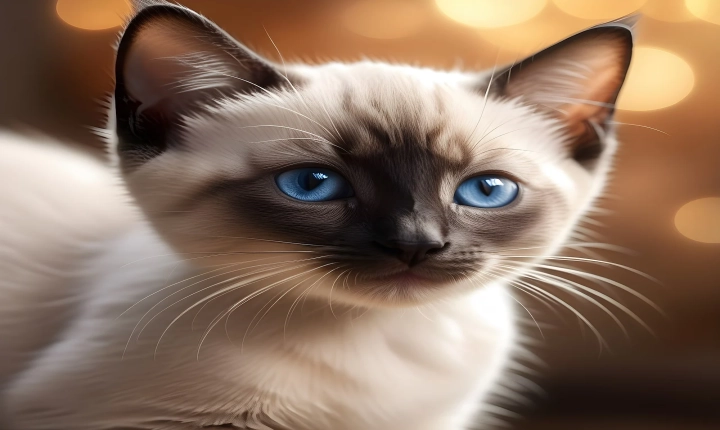
Step 1: Create AI Art
The first step in animating AI art is to create the initial artwork using artificial intelligence. There are various AI tools and platforms available that can generate stunning visuals, such as deep dream generators, style transfer algorithms, and generative adversarial networks (GANs). Artists can use these tools to produce unique and visually striking AI art pieces that will serve as the foundation for the animation.
Step 2: Select Animation Software
Once the AI art is created, the next step is to select animation software to bring the artwork to life. There are several animation software options available, ranging from beginner-friendly programs to professional-grade tools. Some popular animation software includes Adobe After Effects, Blender, and OpenToonz, each offering a wide range of features and capabilities for animating AI art.
Step 3: Plan the Animation
Before diving into the animation process, it’s essential to plan out the vision for the animation. Consider factors such as the intended style, timing, and overall concept of the animation. This planning phase will help ensure a cohesive and polished final product.
Step 4: Prepare the AI Artwork
In order to prepare the AI artwork for animation, it may be necessary to adjust the file format, resolution, and other settings to optimize it for the chosen animation software. Additionally, breaking down the AI art into individual layers or components can make the animation process more efficient and manageable.
Step 5: Importing and Layering
Next, import the AI artwork into the chosen animation software and begin layering the components to prepare for animation. Depending on the complexity of the artwork, this step may involve separating different elements of the AI art into distinct layers, allowing for more control and flexibility during the animation process.
Step 6: Animation Techniques
There are various animation techniques that can be applied to AI art, including keyframing, interpolation, and effects. Experimenting with different techniques can add depth and dynamics to the animation, bringing the AI artwork to life in compelling ways.
Step 7: Refinement and Iteration
After the initial animation is completed, it’s important to refine and iterate on the design to achieve the desired outcome. This may involve adjusting timing, adding additional effects, or refining transitions to enhance the overall visual impact of the animation.
Step 8: Exporting and Sharing
Once the animation is finalized, export the project into a suitable file format for sharing and distribution. Whether it’s a video file, GIF, or interactive format, the animated AI art can be shared with audiences across various platforms, showcasing the fusion of artificial intelligence and artistic expression.
In conclusion, animating AI art is an exciting and innovative process that brings together technology and creativity in captivating ways. By following the step-by-step guide outlined in this article, artists can effectively animate AI-generated artwork, opening up new possibilities for artistic expression and storytelling in the digital realm. As the field of AI art continues to evolve, animating AI art will undoubtedly play an increasingly prominent role in pushing the boundaries of visual storytelling and artistic exploration.