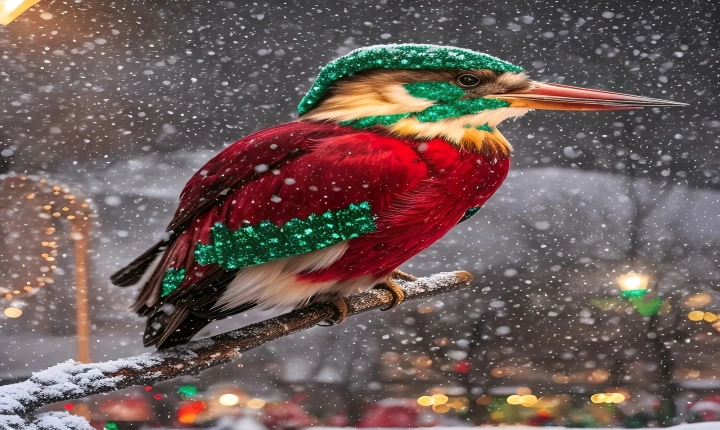
Title: How to Create an AI Painting: A Step-by-Step Guide
Artificial Intelligence (AI) has become a powerful tool in generating new and unique forms of art, including paintings. With the advancement in technology, it is now possible to create stunning and thought-provoking pieces of art with the help of AI algorithms. In this article, we will explore the step-by-step process of creating an AI painting, from gathering the necessary resources to refining the final output.
Step 1: Choose the Right Software or Tool
The first step in creating an AI painting is selecting the right software or tool. There are various AI-powered platforms and software available that cater to creating digital art. Some popular options include DeepArt, Runway ML, and Adobe Fresco. These platforms provide a range of features such as style transfer, generative adversarial networks (GANs), and neural style transfer, allowing artists to experiment with different techniques for creating AI paintings.
Step 2: Gather Reference Images and Art Styles
Once the software or tool is chosen, the next step is to gather reference images and art styles that will serve as inspiration for the AI painting. Reference images can include photographs, existing paintings, or any visual material that the artist wishes to incorporate into the AI painting. Additionally, exploring different art styles, such as impressionism, cubism, or surrealism, can influence the overall composition and aesthetic of the painting.
Step 3: Preprocess and Input the Images
After gathering the necessary references, the images need to be preprocessed and input into the chosen AI tool. This may involve resizing, cropping, or converting the images into a compatible format for the software. It’s important to ensure that the input images are of high quality to achieve the best results in the final painting.
Step 4: Experiment with Style Transfer and Neural Networks
Many AI painting tools offer the option of style transfer and neural networks, which allow users to apply different artistic styles to their input images. Style transfer involves applying the visual characteristics of one image or art style to another, resulting in a unique blend of the two. Neural networks, on the other hand, use complex algorithms to generate new and original pieces of art based on the input images and styles.
Step 5: Refine and Customize the Output
Once the AI tool generates the initial painting, it’s time to refine and customize the output. This may involve adjusting the color palette, adding details, or further applying artistic effects to enhance the overall composition. It’s essential to experiment with different settings and parameters to achieve the desired look and feel of the AI painting.
Step 6: Save and Share the AI Painting
After the painting is refined and finalized, it can be saved in various digital formats such as JPEG, PNG, or even as a digital file compatible with printing on canvas. The AI painting can then be shared on social media, art platforms, or printed and exhibited in physical galleries, allowing artists to showcase their creativity and the potential of AI-generated art to a wider audience.
In conclusion, creating an AI painting involves a combination of artistic vision and technological innovation. By following the steps outlined in this guide, artists can leverage AI tools to explore new artistic possibilities and push the boundaries of traditional art forms. As AI continues to evolve, it presents exciting opportunities for artists to expand their creative expression and redefine the concept of art in the digital age.
