Title: How to Create an AI Image: A Step-by-Step Guide
Introduction
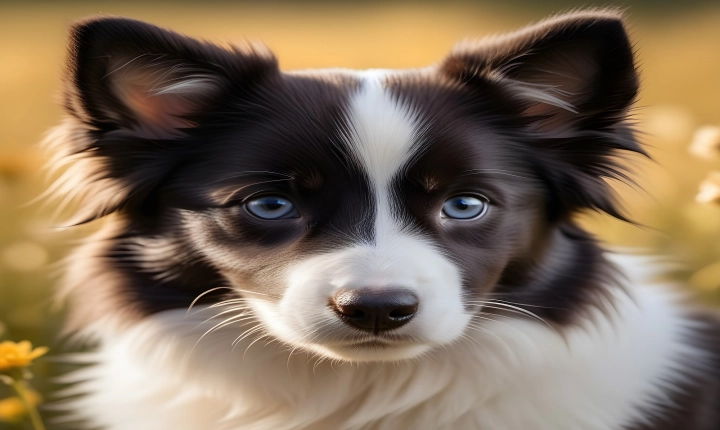
Artificial intelligence (AI) has continued to revolutionize many aspects of technology, and one area that has seen significant advancements is the creation of AI images. With the help of AI-powered tools and platforms, you can generate stunning images that showcase the potential of machine learning and deep learning algorithms. In this article, we’ll explore the process of creating an AI image, the tools and techniques involved, and how you can get started on your own AI image project.
Step 1: Choose the Right Tool or Platform
One of the key aspects of creating an AI image is selecting the right tool or platform to work with. Several AI-powered image generation tools are available, each with its unique features and capabilities. Consider platforms like DeepArt, RunwayML, Artbreeder, or Google’s Deep Dream Generator, depending on the style or type of image you wish to create. These platforms typically offer a user-friendly interface and a wide range of options for generating AI images.
Step 2: Select or Generate Input Images
Once you have chosen your preferred AI image generation tool, the next step is to select or generate input images that will serve as the basis for your AI image creation. You can start with your own photographs, digital artworks, or stock images to use as input. Some platforms also provide a library of images to choose from or allow you to import images from external sources. The quality and diversity of the input images can significantly impact the resulting AI-generated images.
Step 3: Experiment with Styles and Parameters
Many AI image generation tools provide various options for adjusting styles, parameters, and effects to customize the output. Experiment with different settings, such as artistic styles, color schemes, textures, or levels of abstraction, to achieve the desired visual impact. Some platforms even offer advanced features like the ability to mix and match different elements from multiple input images to create a unique AI-generated composition. This step involves a fair amount of trial and error to find the right combination of settings to produce the image you envision.
Step 4: Refine and Edit the Output
After generating the AI image, you may need to refine and edit the output to enhance its visual appeal. This can involve applying post-processing techniques, adjusting colors and contrasts, or removing any artifacts or imperfections in the generated image. Some platforms offer built-in editing tools, while others allow you to export the AI-generated image for further manipulation in traditional image editing software like Adobe Photoshop or GIMP.
Step 5: Share and Showcase Your AI Image
Once you have created and finalized your AI image, it’s time to share and showcase your creation. Many AI image generation platforms allow you to share your images directly on social media, art communities, or online portfolios. Sharing your AI-generated images can help garner feedback, appreciation, and recognition from the community. Additionally, you can explore opportunities to exhibit your AI images in art galleries, digital art events, or through online marketplaces specializing in AI-generated art.
Conclusion
Creating AI images is an exciting and innovative process that combines the power of artificial intelligence with artistic expression. By leveraging AI-powered tools and platforms, you can generate visually stunning and thought-provoking images that push the boundaries of traditional art creation. Whether you are a professional artist, a hobbyist, or simply curious about AI technology, experimenting with AI image creation can open up new creative possibilities and inspire a deeper understanding of the intersection between art and technology.