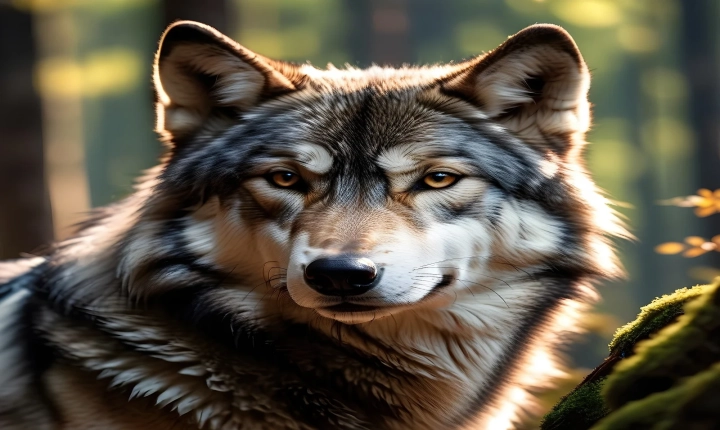
Title: How to Create AI-Generated Photos: A Step-by-Step Guide
Artificial Intelligence (AI) technology has revolutionized the way we create and manipulate digital images. AI-generated photos, also known as computer-generated images, have become increasingly popular for various applications, including digital marketing, design, and entertainment purposes. Creating AI-generated photos may seem like a complex task, but with the right tools and knowledge, it can be a rewarding and creative endeavor. In this article, we will guide you through the process of creating AI-generated photos, step by step.
Step 1: Choose the Right AI-Generated Photo Generation Tool
There are several AI-powered platforms and tools available that can help you generate photos using artificial intelligence. It’s important to choose a tool that aligns with your desired outcome and level of expertise. Some popular AI-generated photo generation tools include DeepArt, DreamScope, and Deep Dream Generator. These tools offer a range of features such as style transfer, visual effects, and image manipulation using AI algorithms.
Step 2: Select the Input Image or Style
Once you have chosen a suitable AI-generated photo generation tool, the next step is to select the input image or style. You can start with a blank canvas and let the AI generate an entirely new image, or you can use an existing photograph as the input to apply AI-driven transformations. Additionally, some tools allow you to select a specific artistic style or visual effect that you want to incorporate into your AI-generated photo.
Step 3: Adjust Parameters and Settings
Most AI-generated photo generation tools provide a range of parameters and settings that you can adjust to fine-tune the output. These settings may include adjusting the intensity of the AI effect, modifying the color palette, and adjusting the level of detail. Experimenting with these parameters can help you achieve the desired look and feel for your AI-generated photo.
Step 4: Refine and Customize
After generating an initial AI-processed image, you may want to refine and customize the output further. This could involve adding or removing specific elements, enhancing certain features, or combining multiple AI-generated images to create a composite artwork. It’s important to experiment and play around with the options available in the tool to achieve the best results.
Step 5: Save and Share
Once you are satisfied with the AI-generated photo you have created, it’s time to save and share your masterpiece. Most AI-generated photo generation tools allow you to save the final output in various file formats, such as JPEG or PNG. You can then share your AI-generated photo on social media, use it for digital marketing campaigns, or incorporate it into your design projects.
In conclusion, creating AI-generated photos is an exciting and innovative way to explore the capabilities of artificial intelligence in the realm of digital imagery. With the right tools, creative vision, and a willingness to experiment, you can produce stunning and unique AI-generated photos that showcase the power of AI technology in the creative process. So, what are you waiting for? Dive in and unleash your creativity with AI-generated photos today!