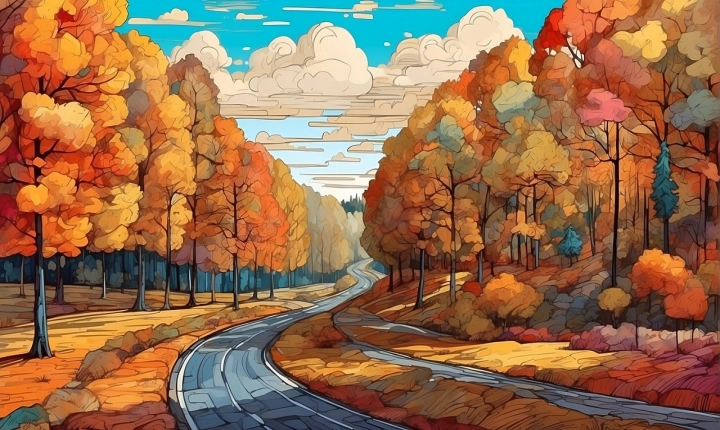
Editing AI pics in Photoshop can be a fun and rewarding process, allowing you to enhance the already impressive results of artificial intelligence-generated images. Whether you’re using AI-generated artwork, illustrations, or photographs, Photoshop offers a wide range of tools and techniques to help you bring out the best in your AI creations. In this article, we’ll explore some tips and tricks for editing AI pics in Photoshop.
1. Understand the AI-generated image
Before you start editing an AI-generated image in Photoshop, take some time to understand the characteristics of the image. Is it a painting, a landscape, a portrait, or something else entirely? Understanding the nature of the AI-generated image will help you determine the best approach for editing it in Photoshop.
2. Adjust colors and tones
One of the most crucial aspects of editing AI pics in Photoshop is adjusting the colors and tones to enhance the overall look of the image. Use tools like Hue/Saturation, Color Balance, and Curves to fine-tune the colors and tones of the AI-generated image. For example, you can amplify the vibrancy of the colors, adjust the contrast, and create a more visually appealing composition.
3. Refine details and textures
If the AI-generated image lacks details or textures, you can use Photoshop’s tools to add or enhance them. The Clone Stamp tool, Healing Brush, and Sharpen tool can be used to refine small details, remove imperfections, and enhance textures to make the image more realistic and visually engaging.
4. Experiment with filters and effects
Photoshop offers a wide range of filters and effects that can be used to add artistic flair to AI-generated images. Experiment with filters like Oil Paint, Watercolor, and Film Grain to create unique visual effects that complement the AI-generated image. You can also explore blending modes and layer styles to add depth and dimension to the image.
5. Use masking and layer adjustments
To apply targeted edits to specific areas of the AI-generated image, use masking and layer adjustments in Photoshop. This allows you to make selective changes without affecting the entire image. For example, you can create a mask to selectively apply color adjustments or use layer adjustments to fine-tune the brightness and contrast of specific areas.
6. Save and preserve the original
When editing AI pics in Photoshop, it’s essential to save and preserve the original AI-generated image. Consider creating a duplicate layer or working non-destructively with adjustment layers and Smart Filters. This way, you can always revert to the original image if needed and maintain the integrity of the AI-generated artwork.
In conclusion, editing AI pics in Photoshop opens up a world of creative possibilities, allowing you to refine and enhance the results of artificial intelligence-generated images. By understanding the image, adjusting colors and tones, refining details, experimenting with filters and effects, using masking and layer adjustments, and preserving the original, you can take your AI pics to the next level. So, dive into Photoshop and explore the endless ways to edit and improve AI-generated images.