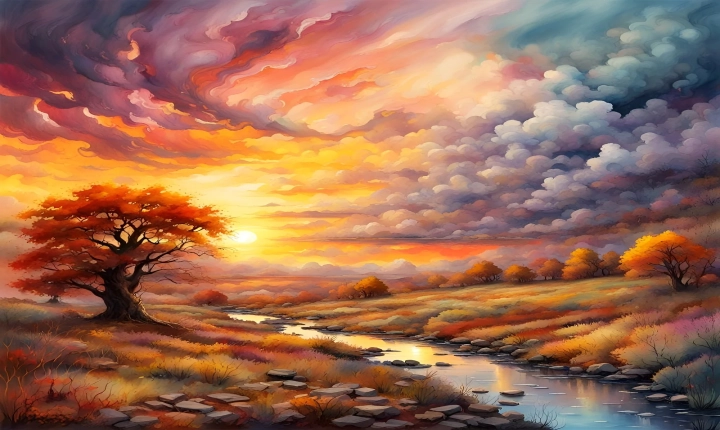
Creating a photo in Adobe Illustrator might seem like a challenging task, especially for those who are used to working with raster-based software like Photoshop. However, with the powerful vector tools available in Illustrator, you can create stunning and professional-looking photos with ease. In this article, we will explore the step-by-step process of making a photo in Adobe Illustrator.
1. Setting up your document
Before you begin creating your photo, it’s important to set up your document with the appropriate dimensions and resolution. Start by creating a new document in Illustrator and choose the size and resolution that you would like your photo to be. Keep in mind that working in a higher resolution will allow for better quality when exporting the final image.
2. Importing your reference photo
To create a photo in Illustrator, you will need a reference image to work from. Import your photo into Illustrator by going to File > Place, and selecting the image file from your computer. This will embed the photo into your Illustrator document, and it will serve as a guide for creating your vector artwork.
3. Using the Pen Tool
The Pen Tool is a key tool for creating vector graphics in Illustrator. Use the Pen Tool to trace the outlines and shapes of the objects in your reference photo. Take your time to accurately trace the shapes and contours of the photo, using anchor points and bezier handles to create smooth and precise paths.
4. Utilizing the Shape and Pathfinder tools
In addition to the Pen Tool, you can also use the Shape tools in Illustrator to create basic shapes and forms within your photo. The Pathfinder tools allow you to combine shapes, subtract one shape from another, and create complex objects with ease. Experiment with these tools to build up the different elements of your photo.
5. Adding color and gradients
Once you have established the basic shapes and outlines of your photo, you can start adding color and gradients to bring it to life. Use the Gradient Tool to apply smooth color transitions to your shapes, and explore the various color options available in the Swatches and Color panels in Illustrator.
6. Fine-tuning and detailing
After you have laid out the basic elements of your photo, take the time to fine-tune and add details to your artwork. Use the various drawing and painting tools available in Illustrator to add textures, highlights, and shadows to your photo, creating depth and realism.
7. Exporting your photo
Once you are satisfied with your vector artwork, you can export it in a variety of formats depending on your intended use. For high-quality prints, you may want to export your photo as a high-resolution PDF or EPS file. For web use, you can export your artwork as a JPEG or PNG file.
In conclusion, creating a photo in Adobe Illustrator is a creative and rewarding process that allows you to produce stunning, scalable artwork with the power of vector graphics. By following the steps outlined in this article and experimenting with the various tools and techniques available in Illustrator, you can create beautiful and impactful photos that stand out from the crowd.
